I really like to use gift wrap that won't just end up in the trash, but I don't want it to be boring. In the past I've given gifts wrapped in a tote bag, but what about a baby shower?
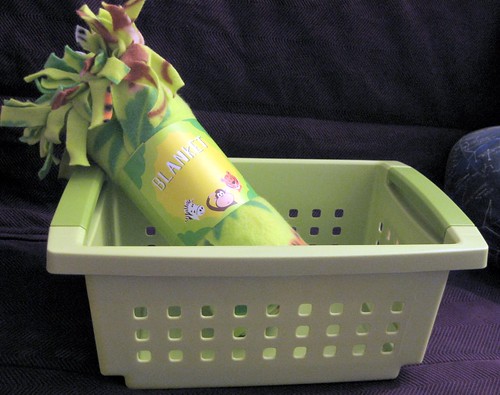
For a baby boy shower I picked up a little blanket and coordinating storage crate at Target. These cost all of $4.49 total, no more than a nice gift bag and tissue paper.
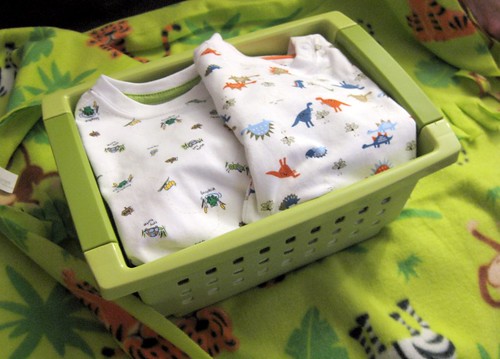
I arranged the baby clothes inside, love the little dinosaurs! (There are some practical, slightly less cute burp pads underneath).
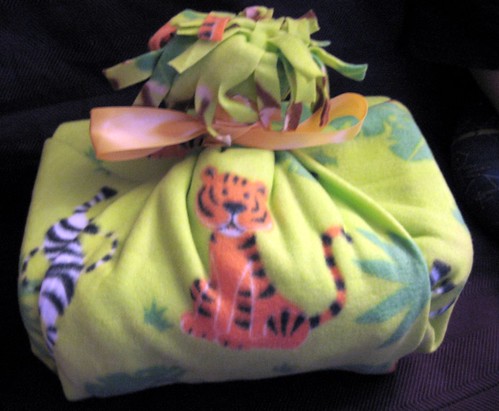
Add a bright bow, and ta-da! All done, it just needs a tag. No waste, and the wrapping becomes part of the gift!
Read more!
Showing posts with label tutorial. Show all posts
Thursday, March 5, 2009
Tuesday, December 23, 2008
Merry Christmas! Celebrate with pie!
Paula Deen's Peppermint Pie has been a hit with my family for the past few years, and is now requested at the work potluck. It only takes a few ingredients, and is a good way to use up some candy canes! Her instructions are super simple, so here are some photos and notes to help-
See photos & notes

Step 1- Gather ingredients
Oreo makes the best chocolate crust in my opinion. I used these massive peppermint sticks to cut down on plastic waste.

Step 1a- Pour self a glass of wine
House Wine, love the label. The wine itself is just ok. The festive red glass makes the pie taste better.

Step 2- do you see what I see?
...uh-huh.

Step 3- smush!
Rolling pins, hammers, and other blunt objects work well.

Step 3- done!
Make sure they're nice & small, otherwise it'll take forever to melt.

Step 4- melt!
This is what it looks like when you first add the cream. It starts to take on that great pink color.

Step 4 continued
Keep the heat very low, and stir often.

You can take the opportunity to make a sandwich and refill your wine glass.

This is a good consistency, it won't all melt completely.

Step 5- secret trick
It always seems that a few solid pieces persist, so I strain out the mostly melted candy. Let it cool at room temperature, don't chill (the gelatin will make it solidify). Stir every 10 minutes or so while it's cooling, otherwise a skin forms on top.

Step 6- whip & fold!
For best results chill your bowl and whisk in the freezer before whipping. I have a stand mixer, so it makes super fast work of this step. (The mixer is also pink...hmm...)

Step 7- Fill crusts!
Don't worry if you have too much filling, or a few crumbs end up on top.

Sprinkles will fix it! I didn't fill these too high because they had to travel, so...

The extra filling goes well with hot cocoa or coffee, just be careful not to make a huge mess like I did...

Your tasty pink peppermint pies are done! Voila!
Enjoy, and Merry Christmas to you and yours!
Read more!
Subscribe to:
Posts (Atom)